by Make It and Love It
Tutorial - So simple, so effective. This is a nice easy project that anyone can do.
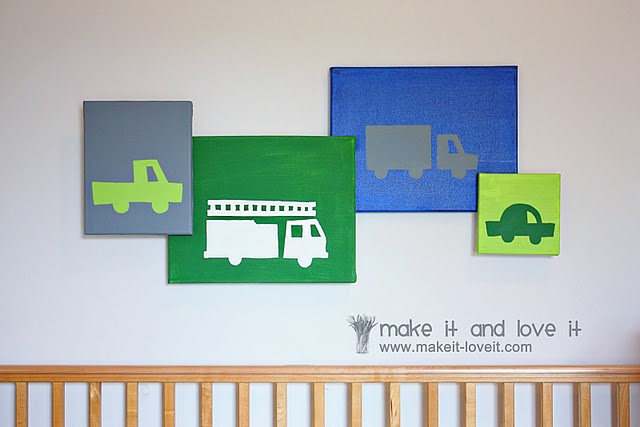
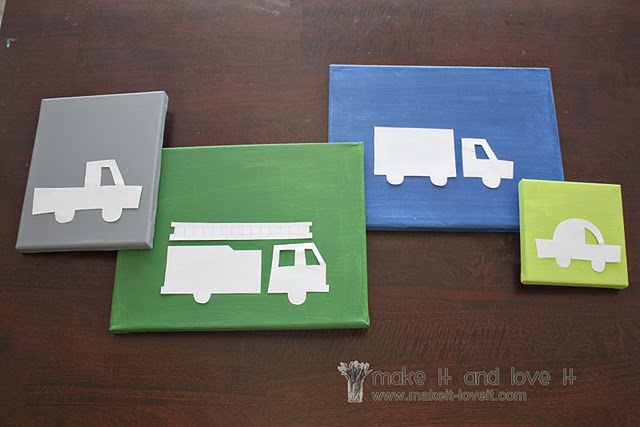
Group the canvases come out at different levels from the wall……giving it dimension.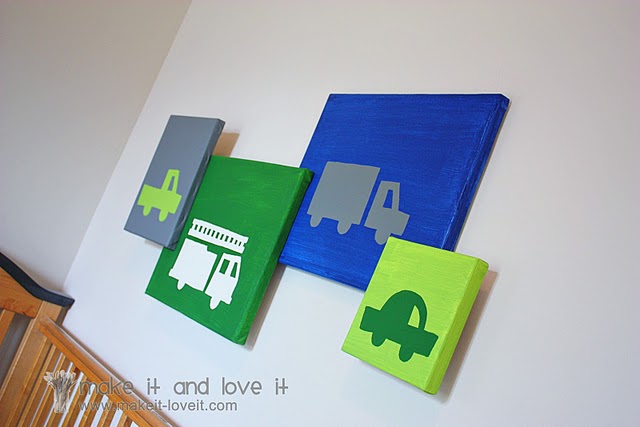
Nice and simple way to spruce up an open space.
Ready to make your own?
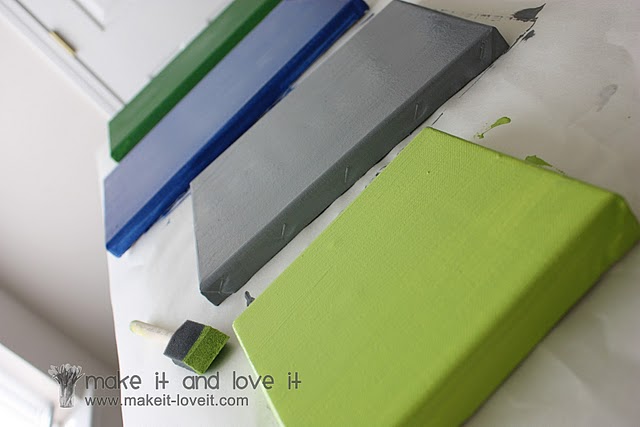
Start by painting different size canvases, the color/s of your choice.
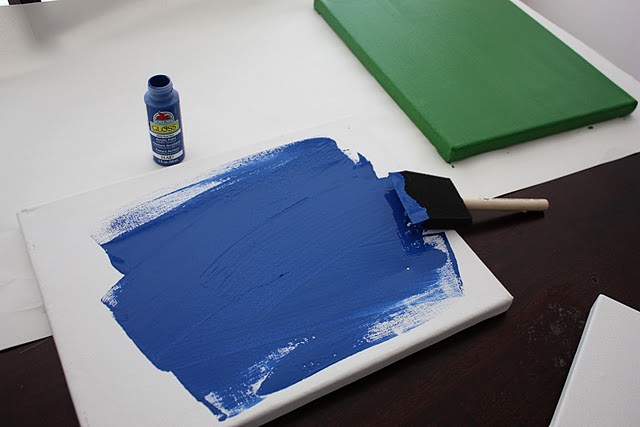
Then allowed them to dry fully.
Cut out car shapes (or those of your choosing) from paper, the size you want, and place them on each canvas. You can find shapes on the Internet or from coloring in books.
Arrange the canvases how you would like them to appear on the wall, and then adjusted each paper car accordingly.
Trace around each paper shape with a pencil.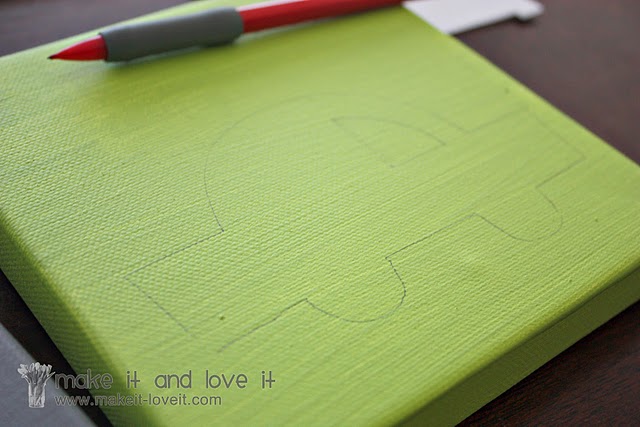
Then paint 2 layers of paint within the lines of each car shape.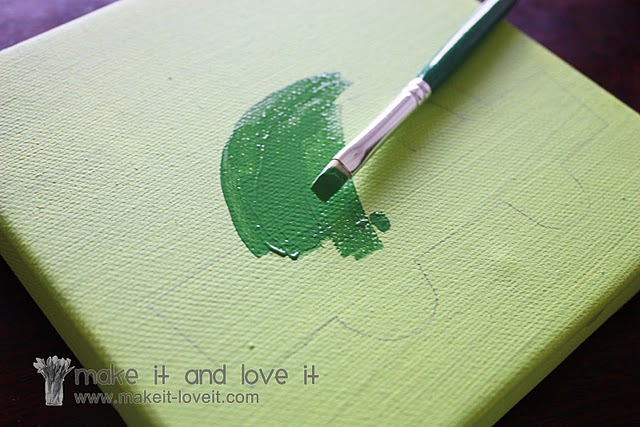
Allowe each canvas to dry completely.
After all canvases are dry, nail them together from the back. Using several nails for each canvas.
(Make sure you keep each piece straight as you turn it over to nail it.)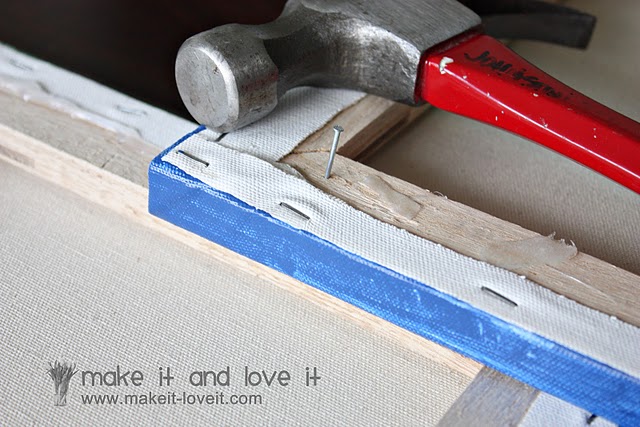
Then hang the canvases right up on the wall.
(I used 2 nails behind the blue canvas, which is right against the wall…….and 2 behind the green canvas, which is about an inch away from the wall. So the nails behind the green canvas are 2 inch long nails and I only pounded them in about an inch. I had to measure and use the level a bit……and then placed the blue and green canvases on their nails. And then the whole grouping hung nicely.)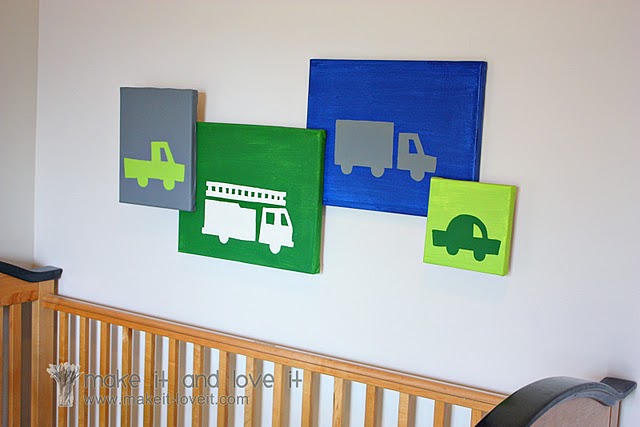
Because these canvases are pretty light, I was able to create this sort of arrangement and only used nails to hang them in the center. If using heavier wood pieces, you may have some problems with balancing and hanging an arrangement with just nails.
**And if you have a younger baby who grabs at everything, you may not want to hang this right above their crib. Try another wall.
No comments:
Post a Comment